


 This video is the exciting conclusion to our cliffhanger Basic Skirt Pattern tutorial. This video is the Basic Skirt Assembly, so we show you all the ins and outs of making that fabulous basic skirt that comes from the pattern you created based on your measurements. If you haven't checked out that tutorial yet, please do so before doing Basic Skirt Assembly.
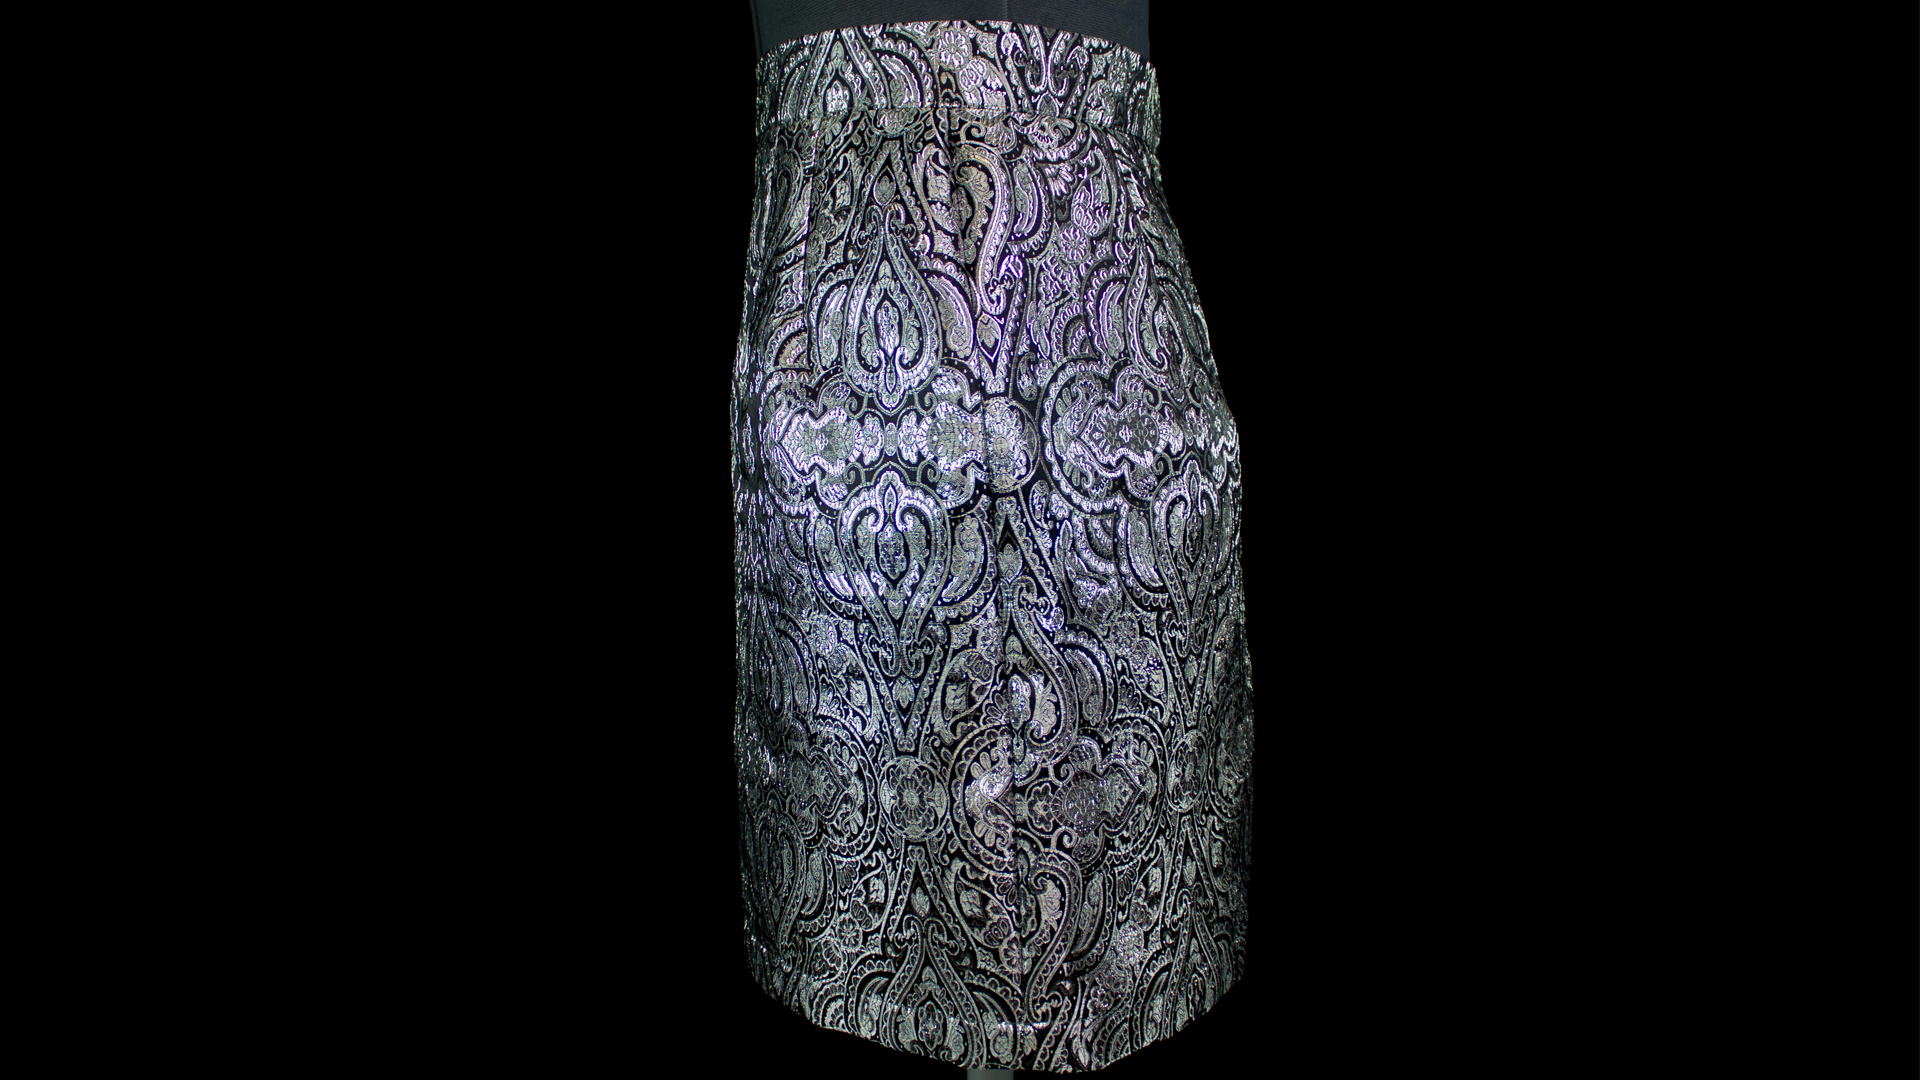
This skirt has darts and a zipper in the back. Also, the skirt is high-waisted so the top of the skirt rests at your natural waistline. I actually really like this, because it can give your style a vintage look. I feel like it also brings out my curves so even though it's basic, it can be very flattering. You can also add trim to the bottom and really have fun being creative with it. Hope you have fun making it!

Because there’s ease built into the pattern, you need to make this skirt out of a woven fabric, not stretch
Does this skirt need to be sewed out of a stretchy fabric?
I’m so glad you got it figured out! When you finish, please post a pic of your skirt 🙂
Hi, Good Morning, I got it when i look at the circle skirt i can see clearly how you overlap the shorter end of the waist band . Thank you.
Thank you .I learn so much I am making the pleating skirt now, My dream skirt !,i finally is brave to make an attempt because i never understand the math but i really appreciate the way you make the pleats with the paper pattern.
Putting in the zipper is ok it the part where after i turn in the end the waist band i am not getting .The overlap end i understand too. The part that i am not getting is the shorter end of the waist band ,i would like to see the end result after you turn in the shorter end of the band, their is where i cannot see how the edge of the zipper line up with the band because the area is too dark… Thank you ….I hope you understand my question.