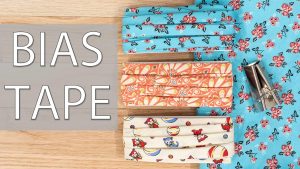
 Purchasing pre-made bias tape is incredibly easy and usually not too expensive. The problem is that in most fabric stores, you have a limited selection to choose from as they only sale one or two shades of each color and you'll have to search even harder to find bias tape with a fun print. Luckily, you can make your own and you don't even need a lot of fabric to do it. In my example, I used a standard fat quarter of a cute print and ended up with about four yards of even cuter bias tape that's ready for my next project. You can buy a bias tape maker in the notions department and it should give you the basic directions for creating bias tape. This tutorial will offer a different approach than what you may see on your package. By using the continuous method, you only have to do two main seams and then you cut your strip in one go, rather than cutting all your strips and then sewing them all together. One way isn't necessarily faster than the other, it's usually a preference on how you want to go about it. But once you master making your own bias tape, you'll rarely want to settle for the boring, plain premade bias tape again.
Bias Tape – Continuous Method

