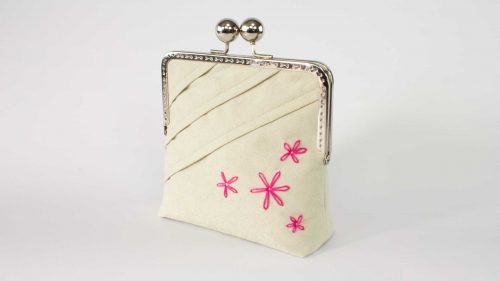
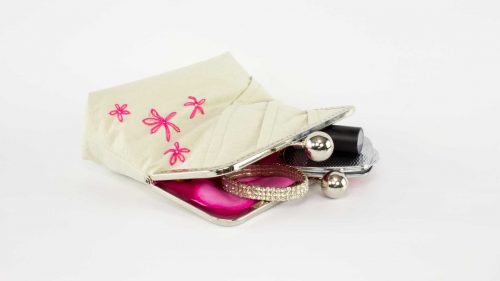
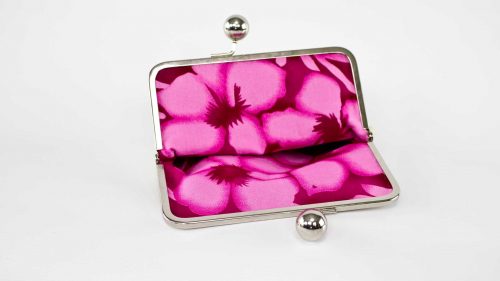
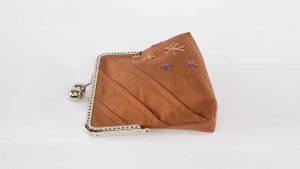
I really love this purse. I think the main reason is because when I look at it, I don't see homemade. Instead, I just see classic, chic, and elegant. When I created this framed clutch, I knew that I wanted to keep my design as simple and clean as possible. I really wanted to show off this lovely fabric, which is a handwoven silk fabric from a village in Thailand. I have never worked with this fabric before and, as I had a limited supply of it, so I was nervous about squandering my opportunity. Luckily, it all worked out, and with the purse frame attached, the results were fantastic. The fabric was a solid color with some texture to it, so my idea was to use a series of folds to create a design. I added the embroidered flowers, using a detached chain stitch, to add a pop of color which matched my lining, and it all came together in one elegant clutch. In fact, I liked it so much, I turned around and quickly made another one.
If the purse frame, makes you think this is a complicating purse to create, let me assure you that it's really not. Once you see how really simple it is to create this look, you'll be pleasantly surprised on how quickly it all comes together. You don't need to be a proficient sewer in order for yours to look like mine. And since this clutch isn't very big, you don't need much fabric to create it. You can get the purse frame for under $10 from your local craft store or online. I think this purse would make a nice gift for a friend or even a bridal party.
I offer a special thanks to Thai Silk Magic for letting me use their beautiful fabric. The silk really was a joy to work with and I loved creating these two very elegant yet distinctive looking framed clutches. Now I just need a sophisticated place to show them off.


Thank you.
make sure you are logged in, below the video is the “download” section. Click on the words “Framed Clutch Purse Pattern”, this will download a .zip file. Open the zip file and inside is the pdf to print. Don’t download the pattern using a mobile device.
Help I can’t download!
Thank you! That does help a lot! My only other question is, given that I won’t be using your exact pattern, exactly where should I plan the placement of the dots for the opening of the frame? Should they be where the frame wells (I’m doing glue-in) end, or at the very bottom of the hinge? And how does the 1/2 inch seam allowance at the top factor in? Thanks in advance!
hello, you can definitely make a purse that size. For me, when I’m creating a pattern, I draw an outline of the finished size of the purse I want, so a draw your rectangle 8X3. Then on the sides of the rectangle I add on half of my desired width of the purse, so if I want it to be 2″ in width, I add 1″ to each side. Then I add my seam allowance all the way around. I hope this helps.
I was wondering how this might be adapted for an 8 x 3″ purse frame? I really like how the sides of your pattern don’t billow out as much, but form more of a straight edge down along both sides from the hinges (more modern looking). I’d also ideally like to have it be less deep – really not too much deeper than the 3 inch frame (I’m going for more of a long, shallow clutch purse, rather than more of a short and deep ‘change purse’ look). Are there any tips you’d have to adjust the width and depth of the pattern?
mine is 6″. This is the one I used: http://www.joann.com/everything-mary-silver-large-6in-purse-frame-with-xl-silver-kiss-locks/10801447.html#start=32
Hello. Thanks for the video tutorial. What is the size of the purse clasp closure? Thanks again
I just picked mine up at a local JoAnns
Hi! I was wondering what store or website I can buy that purse frame from.
Thanks!