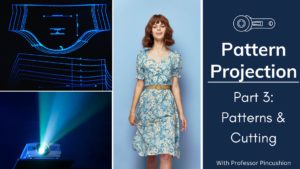
 Once all the equipment is set up and the nitpicky process of calibration is over, it's time to get to the fun part: patterns. Patterns for projections are a little different than standard digital patterns in that they are full size pieces and are, for the most part, specifically laid out to follow grainline rules. This is why you want to make sure to pick the correct ones and you can check out the link HERE to see a list of companies that carry these type of patterns. Once you have your pattern chosen, you can then project it and start cutting it out of your fabric. We provide some tips to make sure you're getting the most, such as how to rotate patterns, change the color of pattern lines, marking your fabric, and cutting. With your setup now complete, you can get through cutting your pieces faster which means getting to garment assembly at a quicker rate.
Videos In This Series
Part 1 - Equipment and Setup - https://www.professorpincushion.com/professorpincushion/sewing-pattern-projection-equipment-setup
Part 2 - Calibration - https://www.professorpincushion.com/professorpincushion/projection-pattern-sewing-projector-calibration
Part 3 - Patterns and Cutting - https://www.professorpincushion.com/professorpincushion/pattern-projection-part-3-patterns-and-cutting

