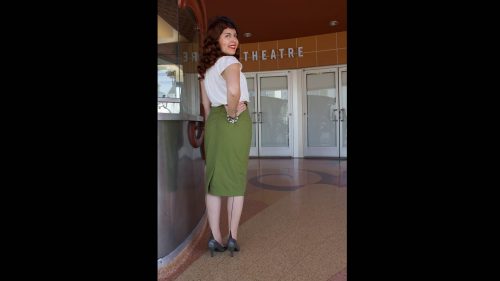
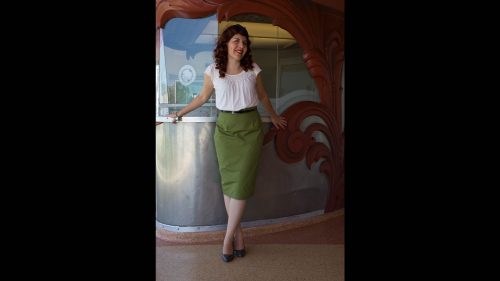
Ever since we did our tutorial on the basic skirt pattern, I've been dying to get back to it. The basic skirt is easy and cute but it is pretty basic. I've been waiting and waiting to take that basic pattern and transform it into my favorite skirt of all: the pencil skirt. I love the vintage style so I happen to think that the pencil skirt is the most flattering skirt of all time. I happen to be on the petite side with a small frame and not much shape, but I put this skirt on I feel like I'm actually rocking some curves. I don't care if you're tall, short, or average, I think this skirt will flatter any height. For those of you not familiar with the term, the pencil skirt silohuette tapers in as you make your way toward the hemline and it normally has a kickpleat (back slit) in the back so you can have that cute little base at the bottom and still walk. Looking good is important, being able to walk is more important, at least that's my opinion.
And speaking of walking, I feel that the pencil skirt does contribute to a creating a distinct wiggle walk or maybe I just walk more proper when I'm wearing it. I would recommend using fabric that has a little bit of a stretch to it so you can still have this curve hugging look and, yet, it provides a little give when you're actually in motion. If you do use fabric that has a little bit of stretch to it, make sure when you pin your pattern to it, you lay it out so that the fabric will stretch around your body. You don't really need stretchiness in an up and down direction as much as you need it for going around the width of your body.
Overall, though, I love this skirt! It came out really cute and I loved walking around town all decked out in an elegant ensemble. The best part was that it wasn't that much more of an effort than the basic skirt. That being said, the basic skirt pattern tutorial is still a prerequisite before the pencil skirt. The reason is that we use the basic skirt draft and make modifications directly on it to create the pencil skirt draft. This way you don't have to redraw your draft all over again. You'll be amazed at how quick and easy it is to make this transformation. I demonstrate not only how to taper your skirt but also how to add the kick pleat. The waistband from the basic skirt can be reused, so no changes need to be made there. I like it when it's easy.
To assemble this skirt, just watch our basic skirt assembly tutorial. It's pretty much the same setup. The only thing that makes it different is the kickpleat. So you'll have to interject our kickpleat tutorial when you get to sewing the center back seam and then when you're ready to do the hem.

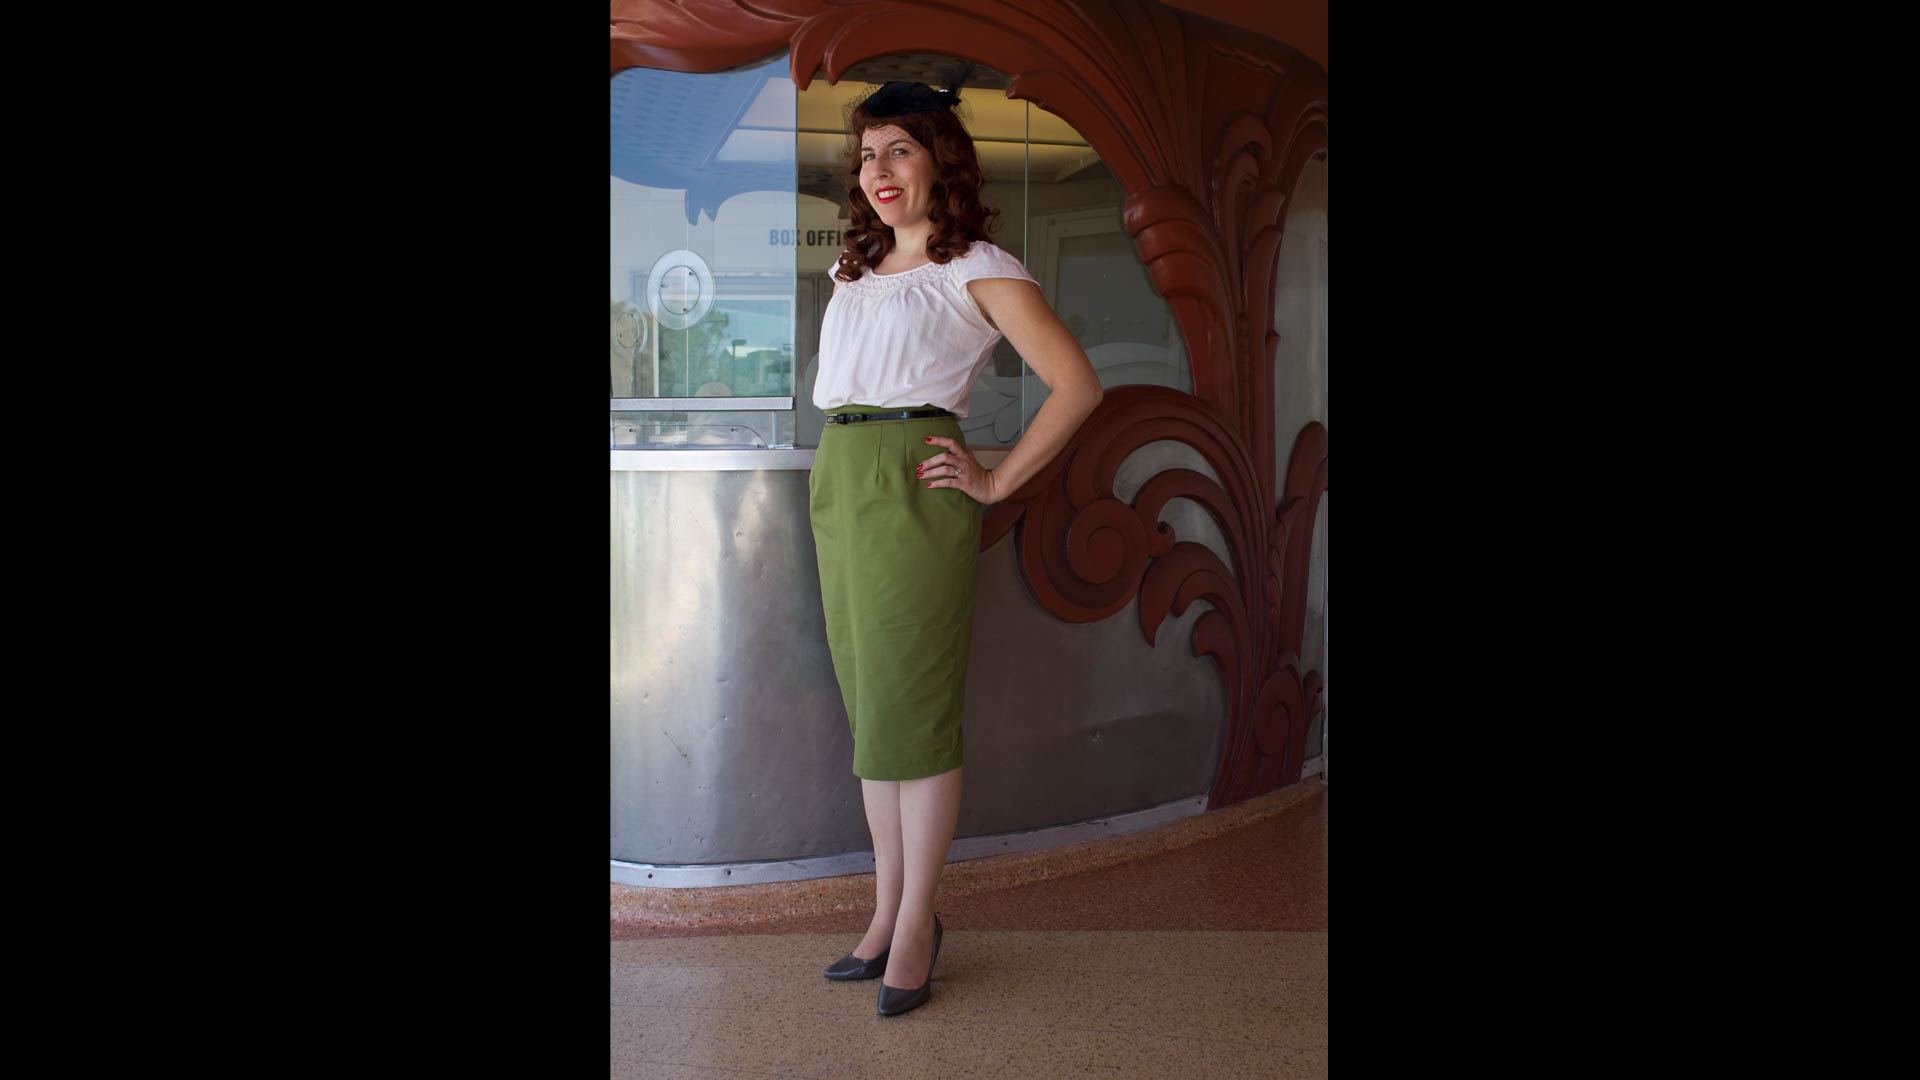
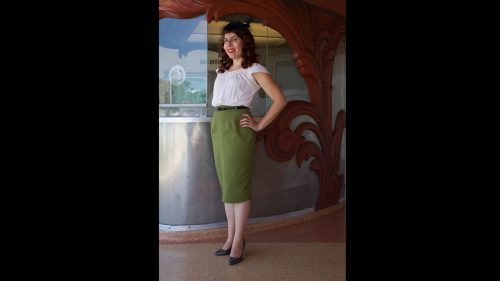

Easy to understand
Hi there! This is to just to shape the raw edge of the fabric. You could also pivot on the seam line but realize that it won’t be a stitching line, since the first part is just to the sew the center back line to the circle and then stop. There needs to be a little extra fabric to the top of the kickpleat/vent extension so when it gets turned to the inside, it’ll look nicer. hope this helps 🙂
I’m just wondering why the pivot point for the kick pleat isn’t directly on the sewing line?
love this i will get premiun in the future, working on being more prepare, so i can just sew like crazy.Thank soo much for the freebies. I am practically new at sewing so i will definely be a fan.
Absolutely, Amazingly Adorable and Attractive!!!! I LOVE the pencil skirt!!!! A classic that never goes out of style!!!!!!