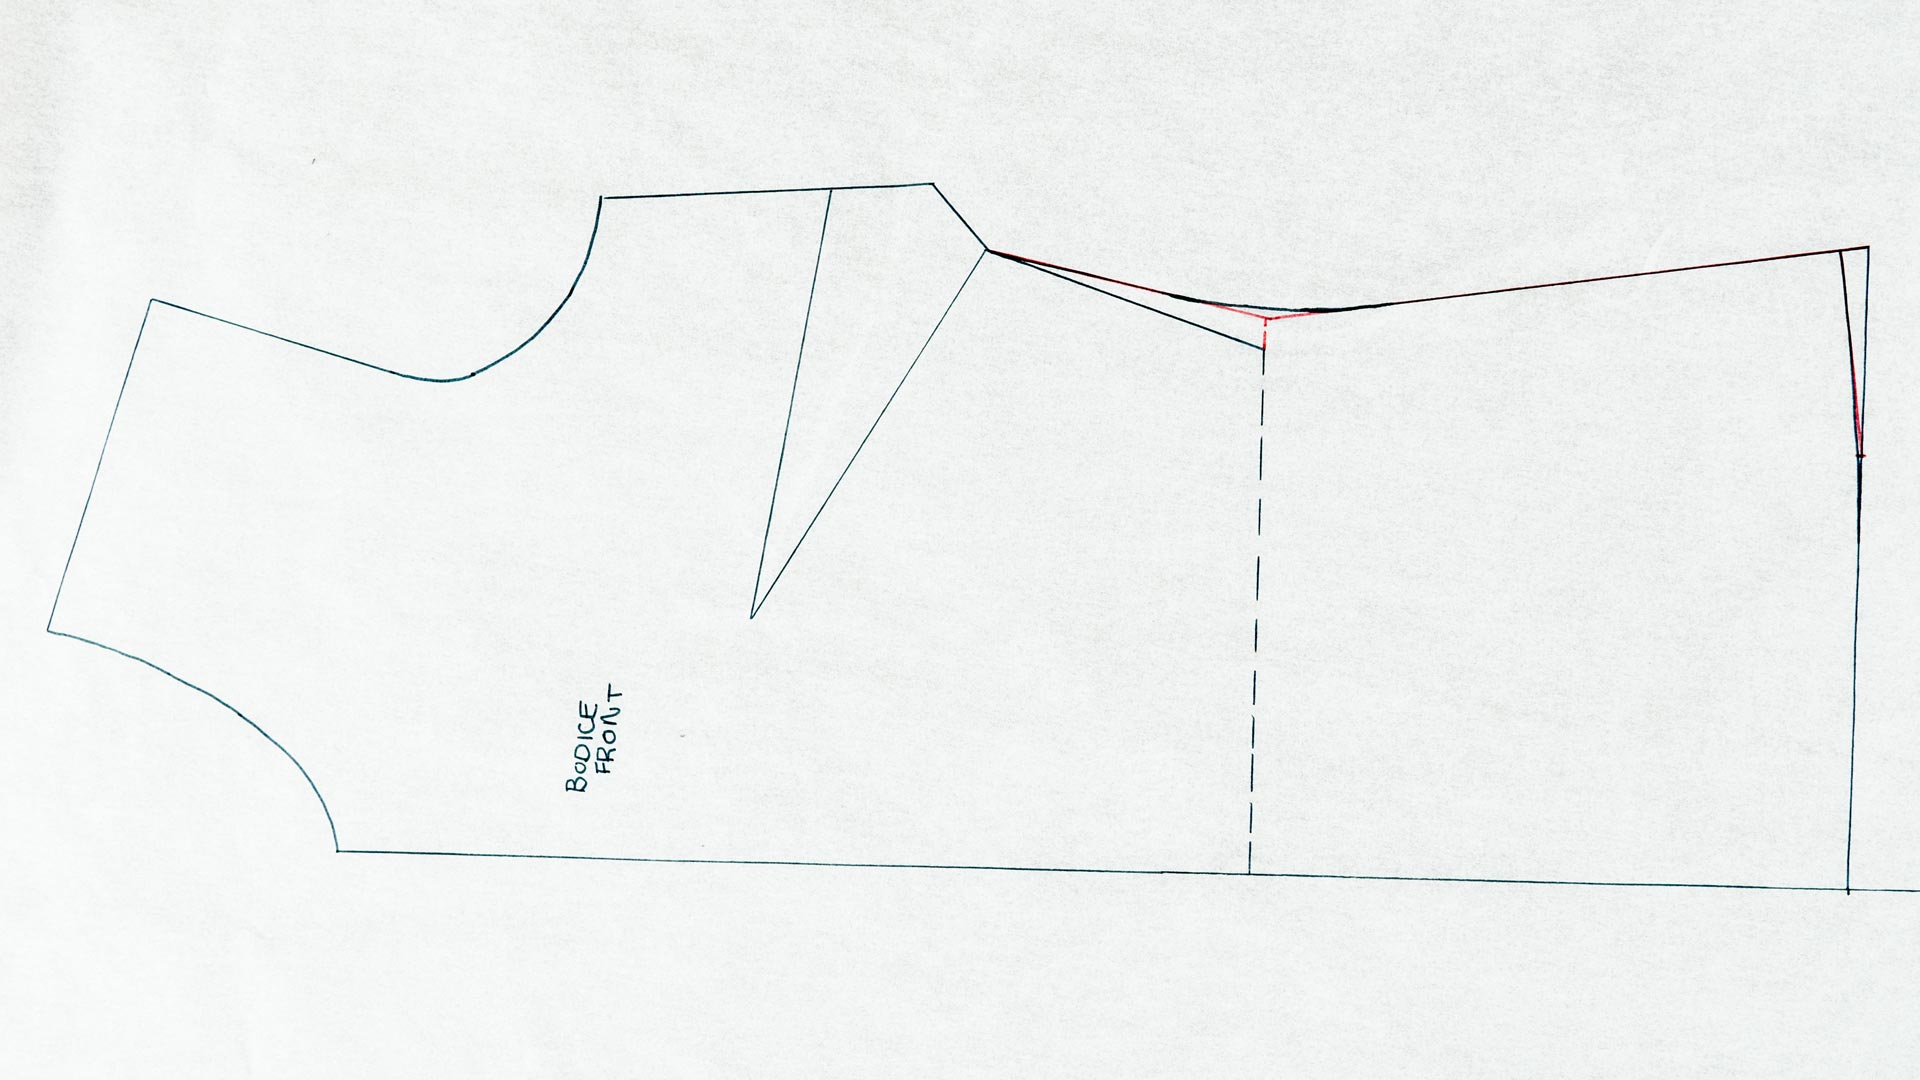
 Our basic bodice pattern is nice for when you're creating a dress, but what if you want to make a shirt or blouse? You're in luck because we show you how to extend this pattern for a length more appropriate for creating shirts. For my example, I extend my pattern to a hip length but you can definitely tweak this to your preference. Before doing this tutorial, make sure to do our basic bodice pattern tutorial first and also check out Shift a Dart tutorial. There are a couple measurements that you need for this tutorial. The first measurement is your hip depth, which is the distance between your natural waistline and hip line. A great way to get this is to tie a string around your waistline and a string around your hip line, then measure from string to string at your side. The next measurement you'll need is your hip measurement. To get this, measure the front (or back) of the widest part of your hip from side to side. Since we're doing half of the pattern, you should divide this number in half. I would then add at least a 1/2" for ease. This is a great example on how your basic block can be modified into creating other types of patterns.
5 thoughts on “Shirt Bodice Pattern”
Leave a Reply
You must be logged in to post a comment.


It would be great to have a downloadable worksheet.
please contact support via the support page and we can problem solve via email.
Hi! I have premium membership but iam unable to watch any videos , I have no pproblem with my net connectivity as
I can watch videos on othersites , please help!
This is just an alteration to the full bodice block itself. So I still went through creating the full block and then I just lengthened it to create this pattern.
Dear Prof.
Thanks for the lecture on shirt bodice pattern. it’s quite easier than “full bodice block pattern”.
Can I use the method for shirt bodice pattern to draft a bodice block pattern?